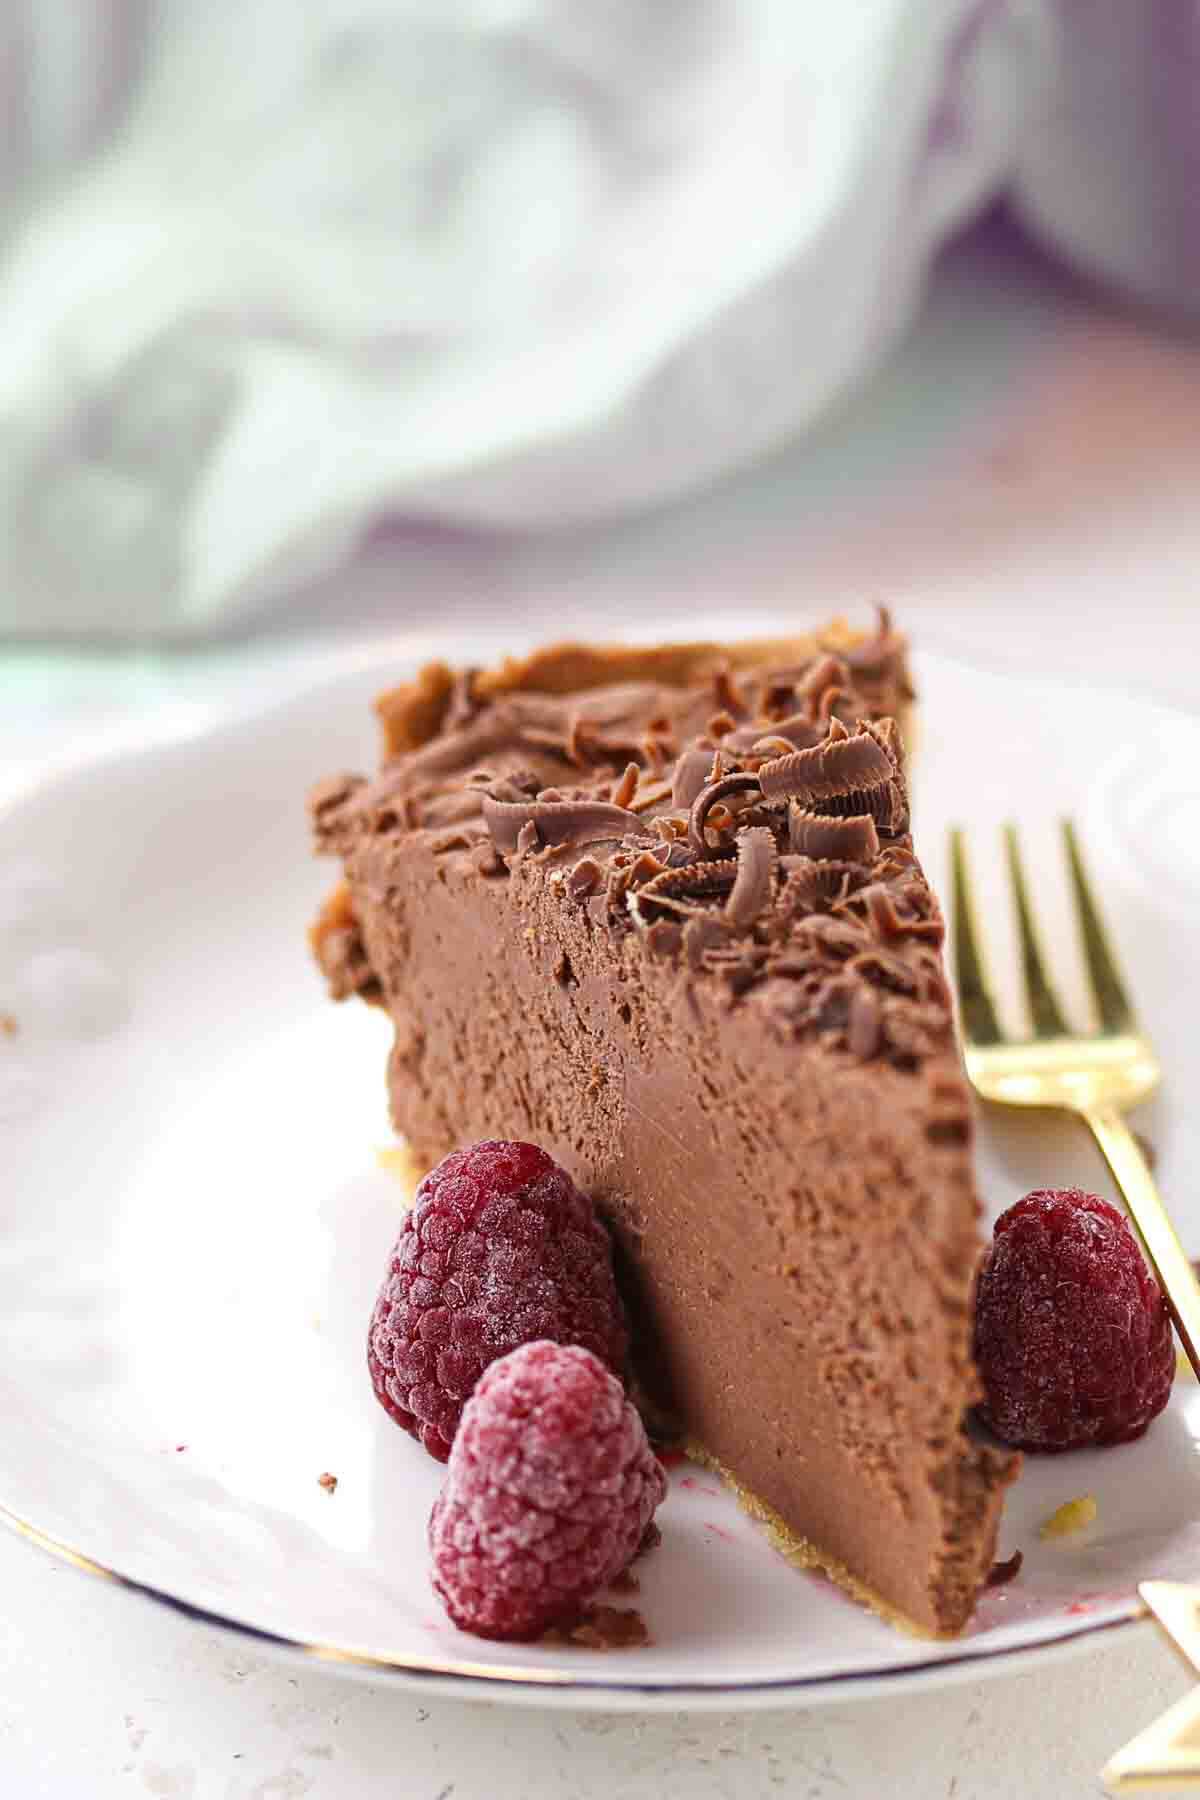
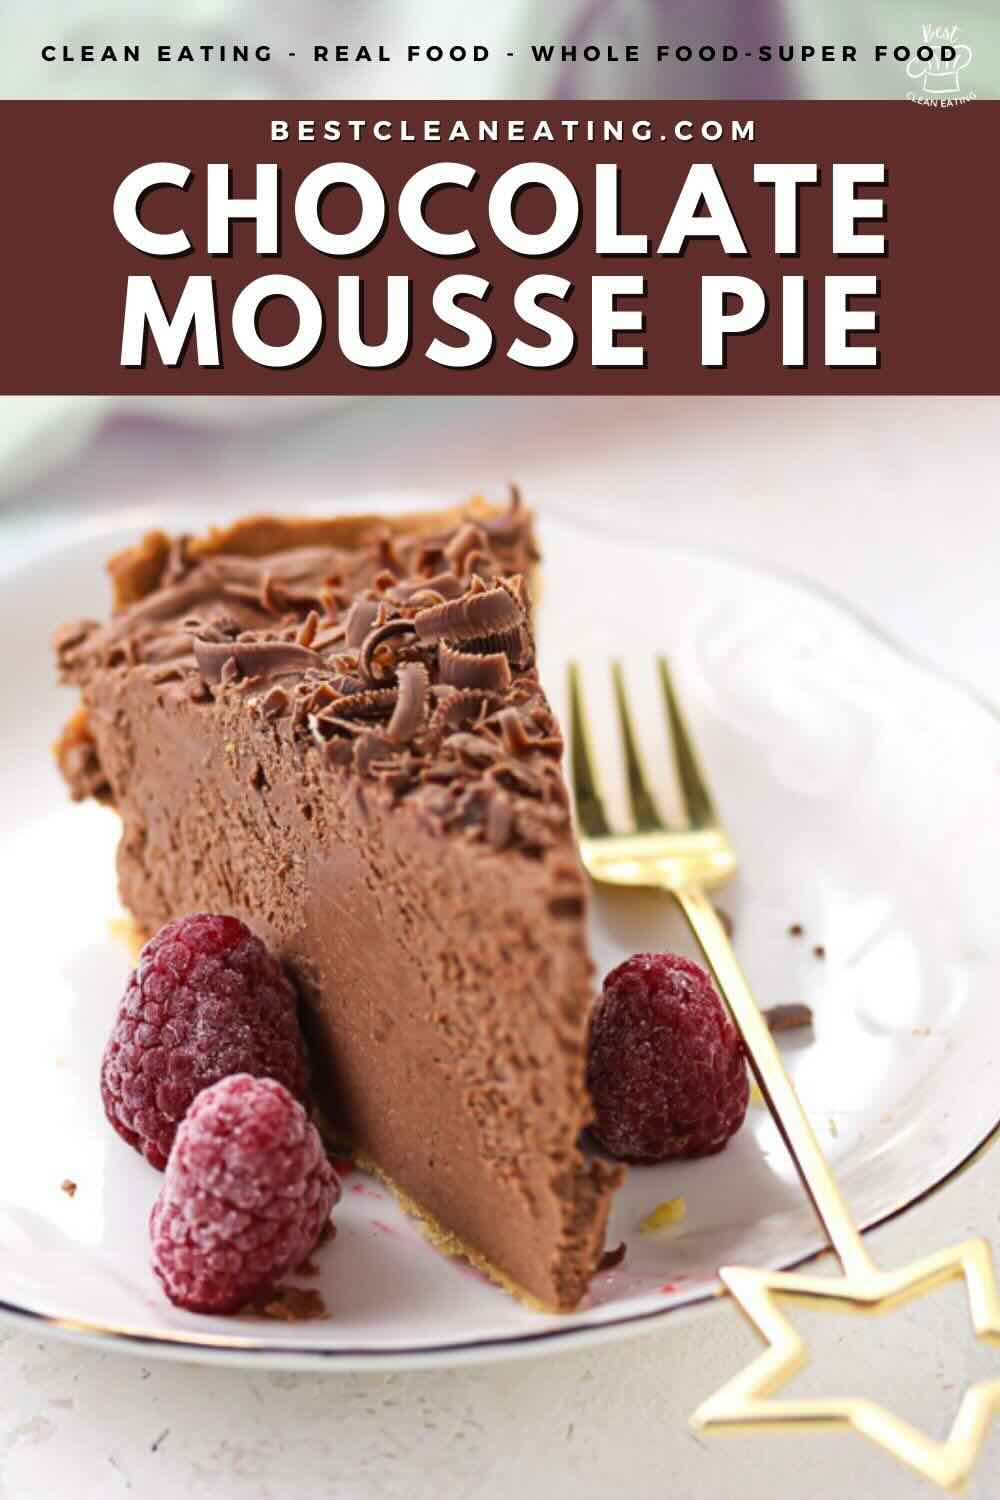
Need a dessert that’s light, fluffy, and full of chocolate flavor? This chocolate mousse pie features a rich, chocolatey filling that’s smooth and perfectly fluffy. Set in a crisp crust and topped with whipped cream, it’s a dream for any chocolate lover. Every bite of this chocolate mousse pie is airy, creamy, and just perfect.

I made this when I needed a break from staring at my screen, and baking felt like the right kind of distraction. I wasn’t even sure it would turn out right, but when I pulled it together and put it in the fridge to set, I kept finding excuses to check on it. That first slice after dinner was the highlight of my whole week. I’ve made it twice more since then just because it’s the kind of dessert that makes a regular evening feel a little nicer.

A Dessert That Works for the Whole Family
This chocolate mousse pie is one of those rare recipes that leave everyone at the table happy. The kids think they are getting a treat, and they are, just a clean one. It works for birthdays, holidays, casual Friday nights, or honestly, any time someone in your house is craving something sweet and chocolatey. You can make a table with chocolate cookie crust, chocolate chips, chocolate nut clusters, dark chocolate almond bark, and even chocolate peanut, so everyone has options.
Whipped Cream Topping
When whipping the heavy cream, stop as soon as stiff peaks form because over-mixing causes the cream to break down, turn grainy, and eventually become butter instead of that smooth, fluffy topping you want. Getting it just right makes a huge difference in both the texture and the final look of the pie.
How To Make Chocolate Mousse Pie
This chocolate mousse pie recipe gives you a light, airy filling with a rich chocolate flavor and a soft crust. It’s simple to prepare and makes a smooth, satisfying dessert without complicated steps.

Kitchen Gadgets:
- Oven: Bakes the nut-based crust until golden and firm.
- Mixing Bowls: Used for making the crust, mousse filling, and whipped topping separately.
- Electric Hand Mixer or Stand Mixer: Whisk the heavy cream into a light and fluffy topping with ease.
- Spatula: Helps fold the mousse and spread everything evenly into the crust.
- Pie Dish: Holds the crust and filling while everything sets together.
- Saucepan: Melts the dark chocolate gently without burning it.
Ingredients:
Nut-Based Pie Crust
- Almond Flour: Forms the base of the crust and gives it a lovely nutty flavor and firm texture.
- Coconut Flour: Adds structure and helps bind the crust together.
- Xanthan Gum: Acts as a binder to keep the gluten-free crust from crumbling.
- Baking Powder: Gives the crust a little lift so it doesn’t turn out too dense.
- Salt: Balances the flavors and enhances the nuttiness of the crust.
- Cream Cheese: Adds richness and helps hold the crust together beautifully.
- Egg: Binds all the crust ingredients together so it bakes up firm and sliceable.
Chocolate Mousse Filling
- Dark Chocolate: The star of the filling, rich and deeply chocolatey with no added sugar.
- Heavy Cream: Creates that thick, silky, mousse-like texture in the filling.
- Powdered Sweetener: Adds just the right amount of sweetness without any refined sugar.
Light Whipped Topping
- Heavy Cream: Whips up into a light and airy topping that balances the richness of the mousse.
- Powdered Sweetener: Lightly sweetens the whipped topping so it complements the chocolate filling perfectly.
*Exact measurements are listed in the recipe card below.
FULL INSTRUCTIONS WITH STEPS FOR THE EASY CHOCOLATE MOUSSE PIE RECIPE
First Step: Prepare and Chill the Crust Dough
Combine the almond flour, coconut flour, xanthan gum, baking powder, and salt in a food processor and pulse to mix. Add the egg and cream cheese, then process until a soft, smooth dough forms. Transfer the dough to a sealed bag and chill for at least 1 hour while you preheat the oven to 350°Fahrenheit (180°Celsius).

Second Step: Shape and Prebake the Crust
Take the chilled dough and roll it between two sheets of parchment paper into a circle that fits a 9-inch pie plate. Gently press it into the pan, shaping the base and sides, then trim any extra. Bake for 10 minutes and let it cool completely before adding the filling.
Third Step: Create the Chocolate Base
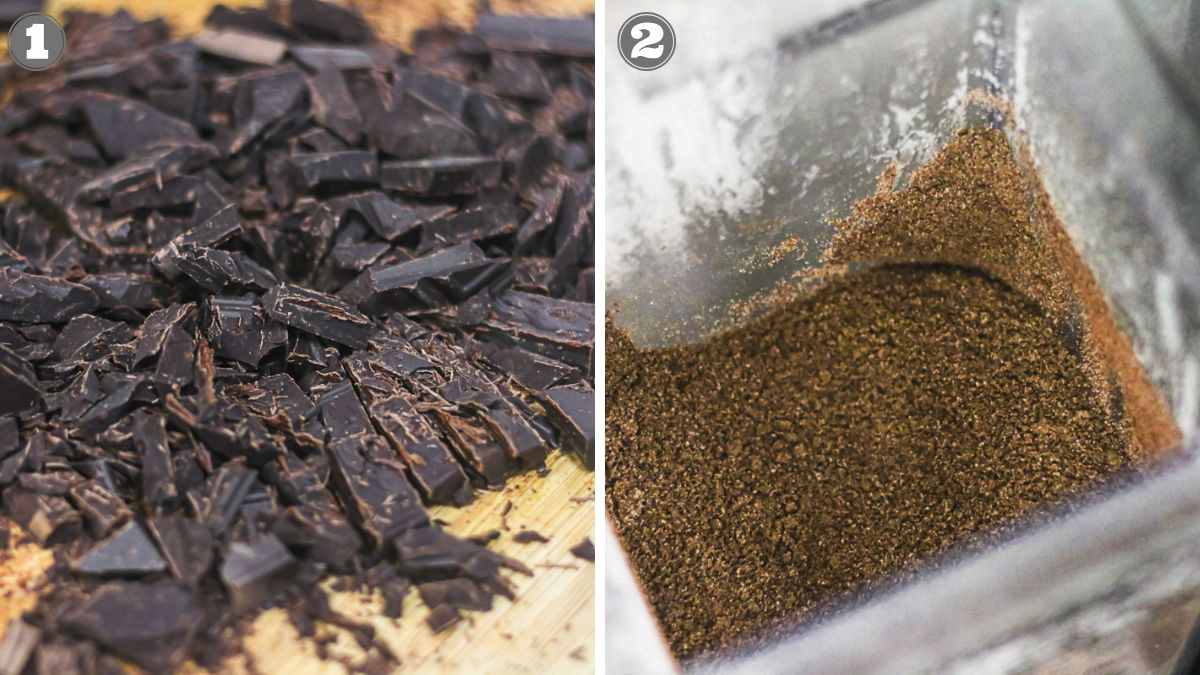
Place the chocolate and sweetener into a blender. Heat the heavy cream in a saucepan until it just begins to bubble, then pour it over the chocolate. Blend until smooth and glossy, then transfer to a bowl and allow it to cool slightly.

Fourth Step: Fold in the Whipped Cream
Whip the heavy cream in a chilled bowl until soft peaks form, adding sweetener as it thickens. Fold a small portion into the chocolate mixture to lighten it. Gently fold in the remaining whipped cream until the mousse is smooth and airy.

Fifth Step: Fill and Set the Pie
Spoon the mousse into the cooled crust and spread it evenly. Refrigerate for 2 to 3 hours until the filling is set. Let the pie sit at room temperature for a few minutes before slicing for a creamier texture.

Zuzana’s Kitchen Notes:
The chocolate mixture needs to be genuinely cool before the whipped cream is folded into it. I tested this once by folding the whipped cream in while the chocolate base was still slightly warm, and the whole thing deflated into a dense, flat filling rather than the light, airy mousse it should be. For another make-ahead chilled dessert, my easy berry trifle recipe uses the same technique and is worth making alongside this one.
- Let the crust cool completely before adding the mousse filling. If the crust is still warm, it will melt the mousse, and you won’t get that perfect creamy texture.
- Use 100% dark chocolate for the cleanest and richest flavor. The better the chocolate the better the mousse will taste.
- Don’t rush the chilling time. The pie really does need those few hours in the fridge to set up properly, so try to make it ahead when you can.
- Whip the cream to soft peaks before folding in the chocolate. Over-whipping can make the mousse dense instead of light and airy.
- Make it the night before if you are serving guests. It actually tastes even better the next day, once everything has had time to fully set and the flavors come together.

FREQUENTLY ASKED QUESTIONS
What to Serve With Chocolate Pie Recipe?
Chocolate mousse pie pairs with white chocolate-covered strawberries or a handful of blueberries in dark chocolate on the side. You can also serve it with a warm cup of hibiscus tea or black coffee to balance out the richness of the chocolate. A light dusting of cacao powder on top makes it look extra special for guests.
How Do I Store Pies?
Store the chocolate mousse pie covered in the refrigerator for up to 4 to 5 days. Keep it in the pie dish covered with plastic wrap or transfer slices into an airtight container. Always serve it cold straight from the fridge for the best texture and flavor.
Yes, you can freeze chocolate mousse pie without the whipped topping. Wrap the pie tightly in plastic wrap and then in foil and freeze for up to one month. Thaw it overnight in the refrigerator and add the fresh whipped topping just before serving.
More Clean Eating Recipes
When you want simple meals that still taste good, these are easy to try. Homemade Italian spices help you add flavor to everyday dishes without buying extra mixes. Frozen chicken wings in the air fryer make a quick option when you need something fast and filling.
Grilled stuffed bell peppers are great when you want a warm meal with veggies in one dish. These recipes keep things easy while still giving you variety at home.
Pin For Later
Need Support or have Questions? Join our Free Facebook Group.
Follow us on Pinterest, Facebook, Instagram, TikTok, Flipboard, or YouTube.
For weekly New Recipes and a FREE E-Book get into our NEWSLETTER.
Full Recipe With a Printable Version
I would be grateful if you could give us a 5-star rating.

Chocolate Mousse Pie
Equipment
- 1 Oven
- 1 Electric Mixer or Stand Mixer
- 1 Spatula
- 1 Saucepan
Ingredients
Nut-Based Pie Crust
- 1½ Cups Almond Flour
- ½ Tablespoon Coconut Flour
- 1 teaspoon Xanthan Gum
- ½ teaspoon Baking Powder
- ½ teaspoon Salt
- 3 Tablespoons Cream Cheese softened
- 1 Large Egg
Chocolate Mousse Filling
- 2 Bars Dark Chocolate 100% or sugar-free, chopped
- 1 Cup Heavy Cream 240 ml
- ½ Cup Powdered Sweetener
Light Whipped Topping
- 1⅔ Cups Heavy Cream 400 ml
- ¼ Cup Powdered Sweetener
Instructions
- Mix the crust ingredients in a food processor until a dough forms, then chill for 1 hour while preheating the oven to 350°Fahrenheit (180°Celsius).
- Roll out the dough, press into a 9-inch pie plate, and bake for 10 minutes. Cool completely.
- Blend chocolate with hot cream until smooth, then let it cool slightly.
- Whip the cream to soft peaks and gently fold it into the chocolate mixture.
- Spread the filling into the crust and refrigerate 2–3 hours until set before slicing.
Notes
- Let the crust cool completely before adding the mousse filling. If the crust is still warm, it will melt the mousse, and you won’t get that perfect creamy texture.
- Use 100% dark chocolate for the cleanest and richest flavor. The better the chocolate the better the mousse will taste.
- Don’t rush the chilling time. The pie really does need those few hours in the fridge to set up properly, so try to make it ahead when you can.
- Whip the cream to soft peaks before folding in the chocolate. Over-whipping can make the mousse dense instead of light and airy.
- Make it the night before if you are serving guests. It actually tastes even better the next day, once everything has had time to fully set and the flavors come together.
Nutrition
Disclaimer
Please note that nutrient values are estimates only. Variations can occur due to product availability and manner of food preparation. Nutrition may vary based on methods of origin, preparation, freshness of ingredients, and other factors.
make more dessert recipes
Make more dessert recipes to enjoy a wider variety of sweet treats for any occasion. Explore baked, chilled, creamy, fruity, frozen, or no-bake creations to keep your dessert menu fresh and exciting.