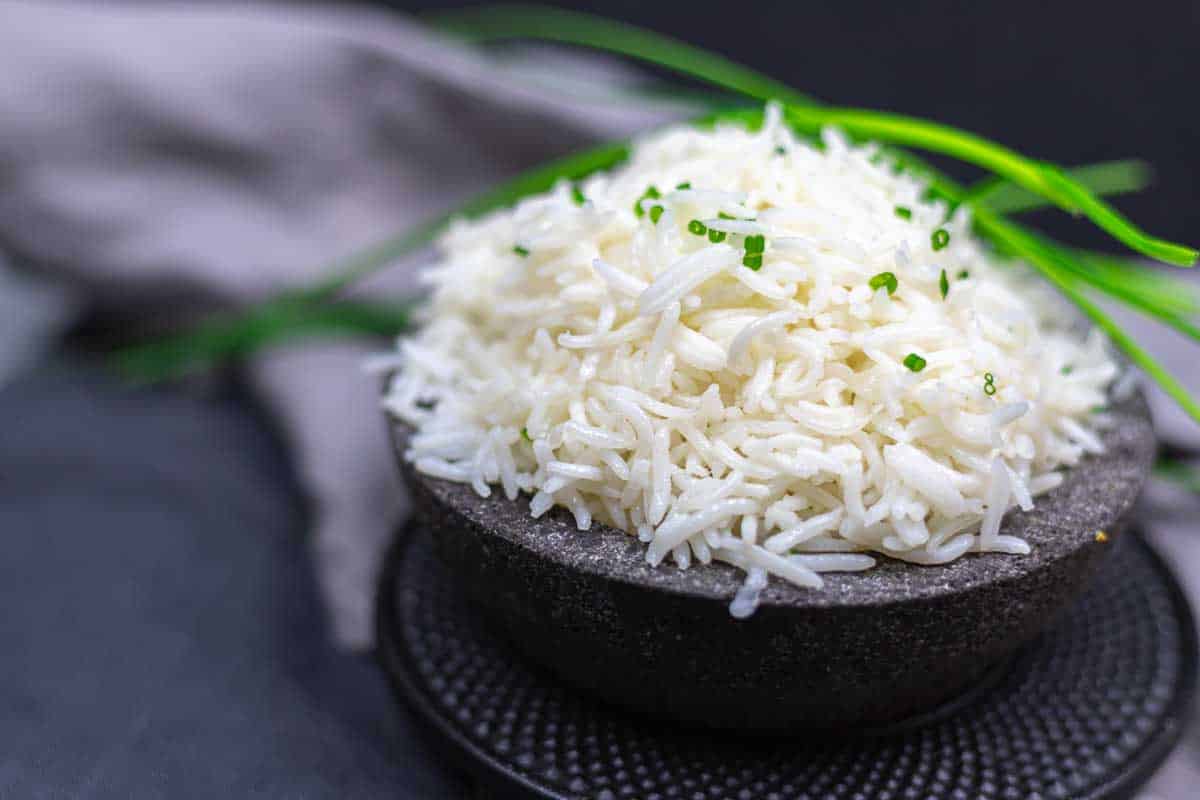
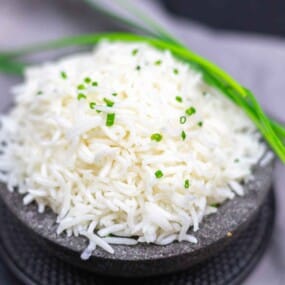
Want to master cooking rice every single time? Making fluffy white rice for a weeknight dinner or prepping a side for your favorite curry makes all the difference when you get it just right. Learn how to cook perfect rice on the stove with this simple white rice recipe with no rice cooker needed.
I learned how to cook rice this way back when I was a teenager in my home country. It was one of the first things I was taught in the kitchen, and ever since then, I’ve stuck with it. No matter where I’ve lived or what tools I’ve had, even with rice cookers around, I always go back to this method. It’s simple, reliable and reminds me of how I started learning to cook in the first place.

Need to Rinse Rice Before Cooking
Rinsing rice removes extra starch that can make it sticky or gummy. It also helps clean away any dust or bits from processing. Just a quick rinse under cold water can really improve the texture. I usually rinse rice 3-5 times.
Importance of Rice to Water Ratio
The right rice-to-water ratio is the key to perfectly cooked rice. Too much water, and it gets mushy; too little, and it stays hard. Measuring both rice and water carefully makes everything cook evenly and pairs perfectly with pork chops, stuffed zucchini boats, oven baked BBQ wings and orange chicken.
Cook Rice in the Microwave or Cook Rice on the Stove Top Oven
Both methods can make soft, fluffy rice if done right. The stovetop oven gives you a little more control, while the microwave is faster and great when you’re in a hurry. Pick the one that fits your day, and it’s all about what works best for you, especially when having oven-baked lamb chops.

How To Make Rice on the Stove
Fluffy rice is easier than you think, all you need is the right water ratio and a watchful eye. This method gives you perfectly cooked rice every time, no fancy equipment needed.
Kitchen Gadgets:
- Cooking Pot: Needed for boiling the rice evenly and letting it simmer to fluffy perfection.
- Strainer: Helps rinse excess starch from the rice before cooking and drains any extra water after.
- Wooden Ladle: Gentle on rice grains and great for fluffing without breaking them.
- Bowl: Ideal for rinsing rice or serving the finished fluffy rice.
- Oven: Used to finish the rice low and slow if you’re going for that foolproof, steamed texture.
Ingredients:
- Water: The key to soft, fluffy rice. Make sure to measure it accurately for consistent results.
- Rice: The star of the dish, choose your favorite variety and cook it to fluffy, tender perfection. Mine is and will always be Basmati rice.
- Black Pepper: Adds a gentle warmth and slight bite if seasoning is desired.
- EVO Oil: A splash keeps the grains separate and adds a light flavor.
- Salt: Improves the natural flavor of the rice; just a pinch goes a long way.
*Exact measurements are listed in the recipe card below.
FULL INSTRUCTIONS WITH STEPS FOR PERFECT WHITE RICE RECIPE
First Step: Prep All Needed Ingredients
Start by gathering your rice, water, a bit of oil, and a pinch of salt and pepper. Make sure you have an oven-safe pot or Dutch oven ready to go. Preheat your oven to 350°Fahrenheit (180°Celsius) so it’s hot and waiting.

Second Step: Wash and Strain Rice
Rinse the rice under cold water until the water runs clear. This removes extra starch and helps prevent the rice from turning sticky. Strain well and let it sit in the strainer while you heat up your pot.

Third Step: Toast Rice
Add a little oil to your pot and pour in the rinsed rice. Toast it over medium heat, stirring gently, until the grains turn slightly golden and aromatic; don’t forget to season. This step allows the rice to absorb the oil first, which may support more stable energy levels when eaten, plus it adds a delicious, nutty flavor.

Fourth Step: Add Water and Cover
Pour in the measured water. Give it a quick stir, then cover with a tight-fitting lid and wait to boil. This locks in the steam and helps the rice cook evenly in the oven.

Fifth Step: Place in the Oven
Carefully transfer the pot to your preheated oven. Bake for 40 minutes at 350°Fahrenheit (180°Celsius). After its baked, let it sit off the heat for 5 more minutes before fluffing with a fork.

TRICKS AND TIPS:
- Rinse the rice first: This helps remove extra starch so your rice doesn’t get sticky or clumpy. Just swish it in cold water a few times until the water looks clear.
- Measure water carefully: Too much or too little can ruin the texture. My rule is 1 cup of rice to one and a half cups of water.
- Don’t lift the lid while cooking: Steam is your friend here. It helps the rice cook evenly. Peeking lets the steam out and messes with the cooking time.
- Let it rest after cooking: Once the heat is off, leave the lid on for 5–10 minutes. This helps the rice finish cooking and become light and fluffy.
- Crunchy rice: My favorite part is when the bottom of the pot gets that extra-crispy rice, so I always leave the rice to bake for an extra 10 minutes.

FREQUENTLY ASKED QUESTIONS
What to Serve With Fluffy Rice?
Fluffy rice goes great with almost anything. Try it with chicken stir-fries, curry chicken, or pork scotch fillet. It’s perfect for soaking up rustic stew with vegetables or pairing with crockpot taco soup and broccoli and cauli bake. You can even use it as a base for rice bowls or burrito fillings.
How Do I Store Cooked Perfect Rice?
Let the rice cool completely before putting it in an airtight container. Store it in the fridge and eat within 4 to 5 days. Reheat it with a splash of water to bring back the moisture.

Yes, you can freeze it. Portion it into freezer-safe bags or containers, and lay them flat for easier storage. When ready to eat, reheat directly from frozen in the microwave or steam it on the stovetop.
More Clean Eating Recipes
Looking for fun and easy clean-eating ideas? I’ve got a few favorites that always hit the spot. Try my chocolate peanuts recipe when you need a quick sweet snack, so simple and satisfying.
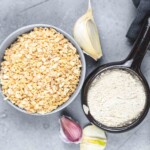
Wondering about garlic? I explain the difference between granulated garlic and garlic powder to help you choose the right one. And if you love crispy bites, the air fryer popcorn chicken recipe is a must-try for a fast and tasty dinner.
Pin For Later

Need Support or have Questions? Join our Free Facebook Group.
Follow us on Pinterest, Facebook, Instagram, TikTok, Flipboard, or YouTube.
For weekly New Recipes and a FREE E-Book get into our NEWSLETTER.
Full Recipe With a Printable Version
I would be grateful if you could give us a 5-star rating.
Master Cooking Rice Every Time
Equipment
Ingredients
- 1 1/2 Cups Water
- 1 Cup Rice
- 1 teaspoon Black Pepper
- 2 Tablespoons EVO Oil
- 1 teaspoon Salt
Video
Instructions
- Gather rice, water, oil, salt, and pepper, and have an oven-safe pot or Dutch oven ready. Preheat the oven to 350°Fahrenheit (180°Celsius).
- Rinse the rice under cold water until clear to remove excess starch. Strain well and let it drain while the pot heats.
- Heat oil in the pot over medium heat, add the rice, and season lightly. Stir until the grains turn slightly golden and fragrant.
- Pour in the measured water, stir once, and cover tightly with a lid to trap steam for even cooking.
- Transfer the covered pot to the oven and bake for 40 minutes. Let it rest for 5 minutes after baking, then fluff with a fork.
Notes
- Rinse the rice first: This helps remove extra starch so your rice doesn’t get sticky or clumpy. Just swish it in cold water a few times until the water looks clear.
- Measure water carefully: Too much or too little can ruin the texture. My rule is 1 cup of rice to one and a half cups of water.
- Don’t lift the lid while cooking: Steam is your friend here. It helps the rice cook evenly. Peeking lets the steam out and messes with the cooking time.
- Let it rest after cooking: Once the heat is off, leave the lid on for 5–10 minutes. This helps the rice finish cooking and become light and fluffy.
- Crunchy rice: My favorite part is when the bottom of the pot gets that extra-crispy rice, so I always leave the rice to bake for an extra 10 minutes.
Nutrition
Disclaimer
Please note that nutrient values are estimates only. Variations can occur due to product availability and manner of food preparation. Nutrition may vary based on methods of origin, preparation, freshness of ingredients, and other factors.
side recipes for you
Check out these easy side recipes that pair perfectly with any main dish. From fresh and light to warm and hearty, these sides bring balance and flavor to every meal.