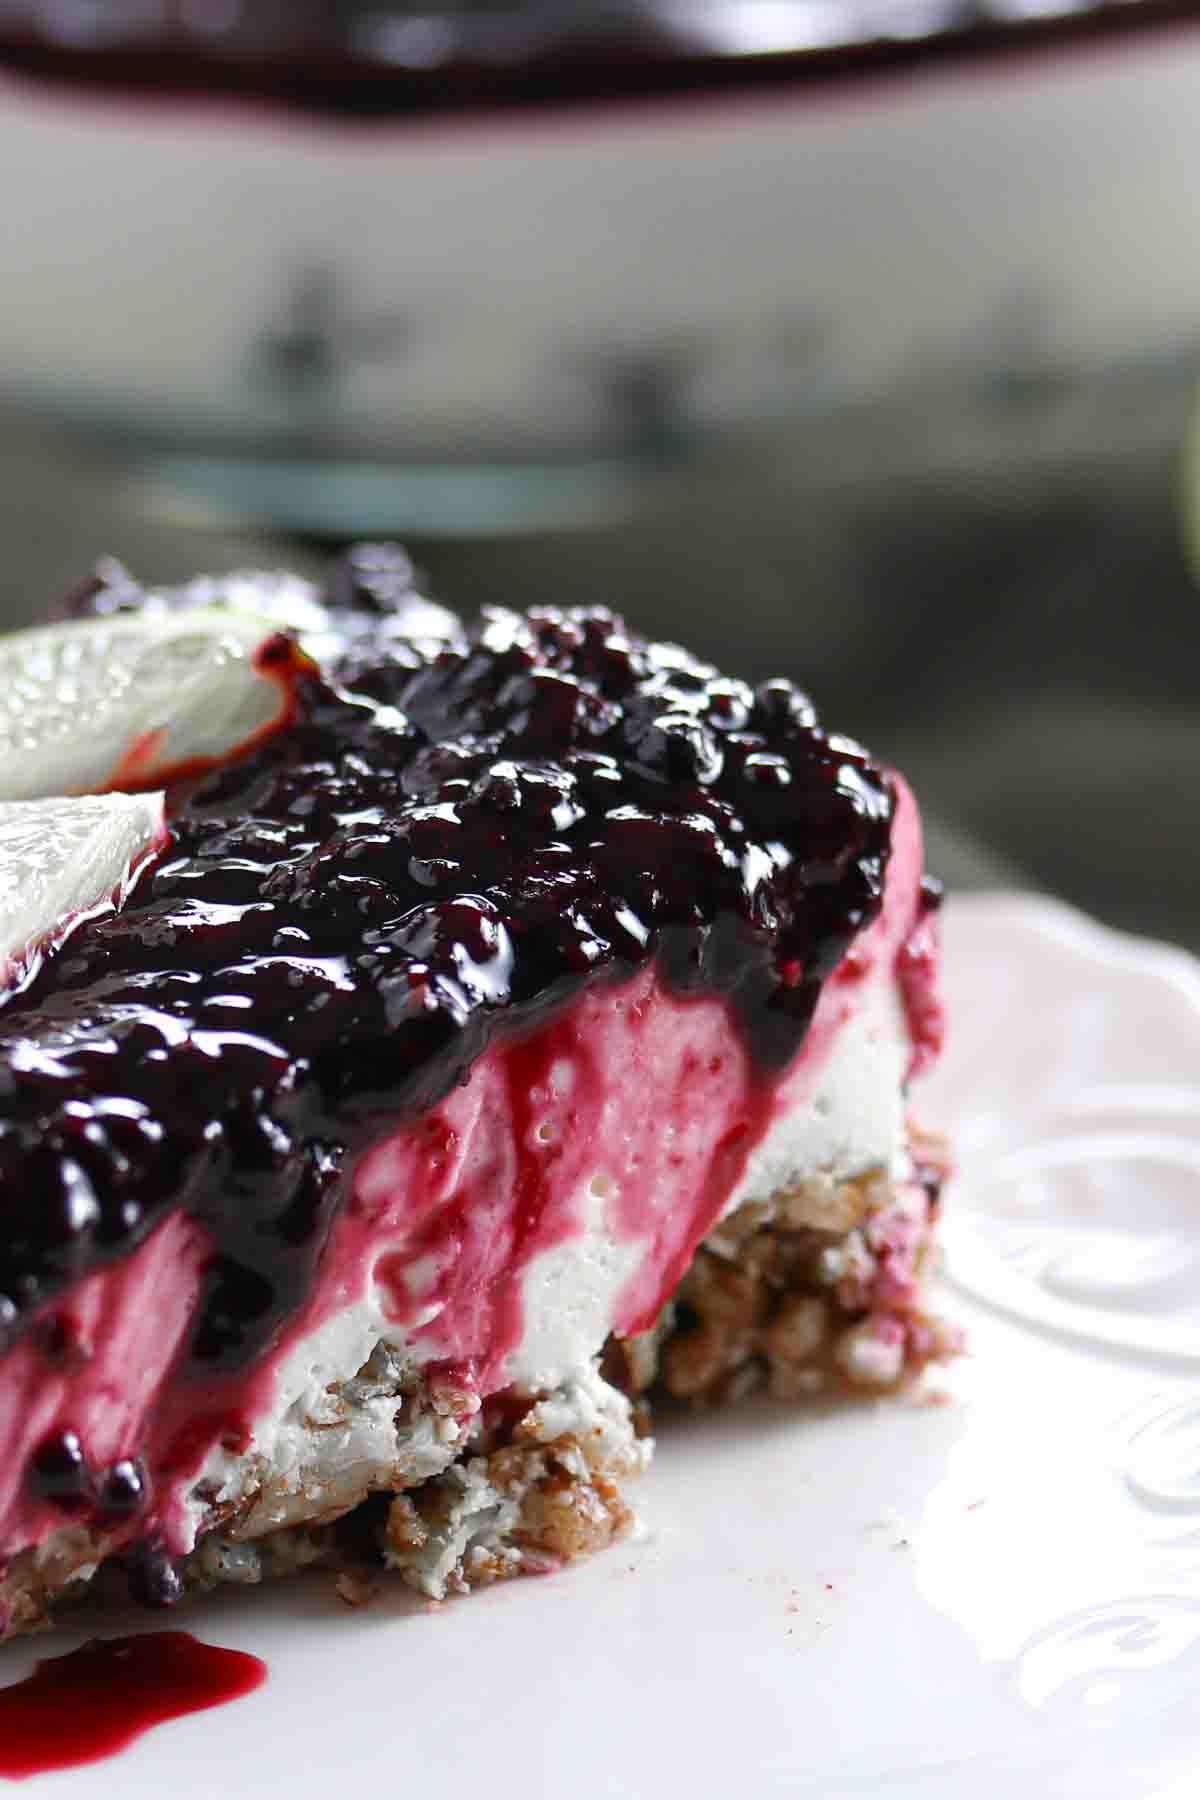
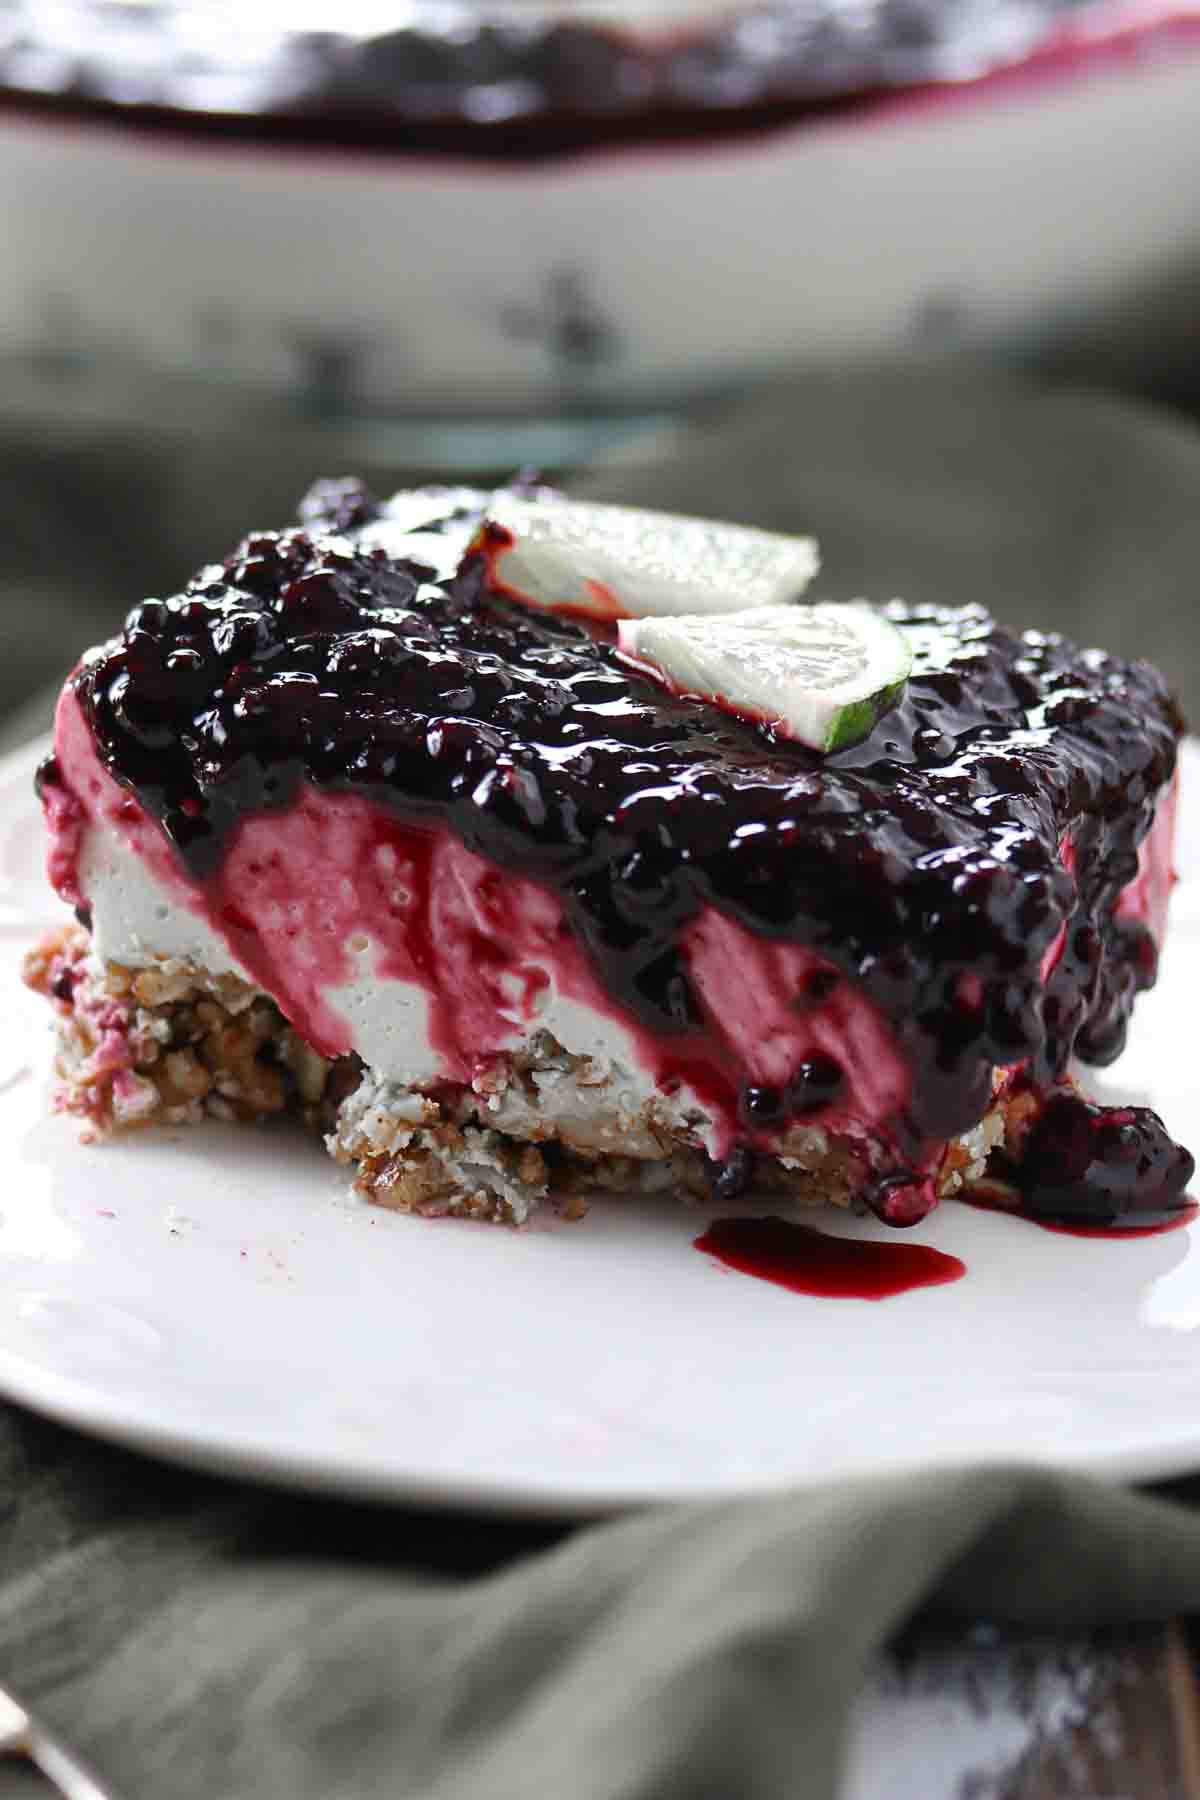
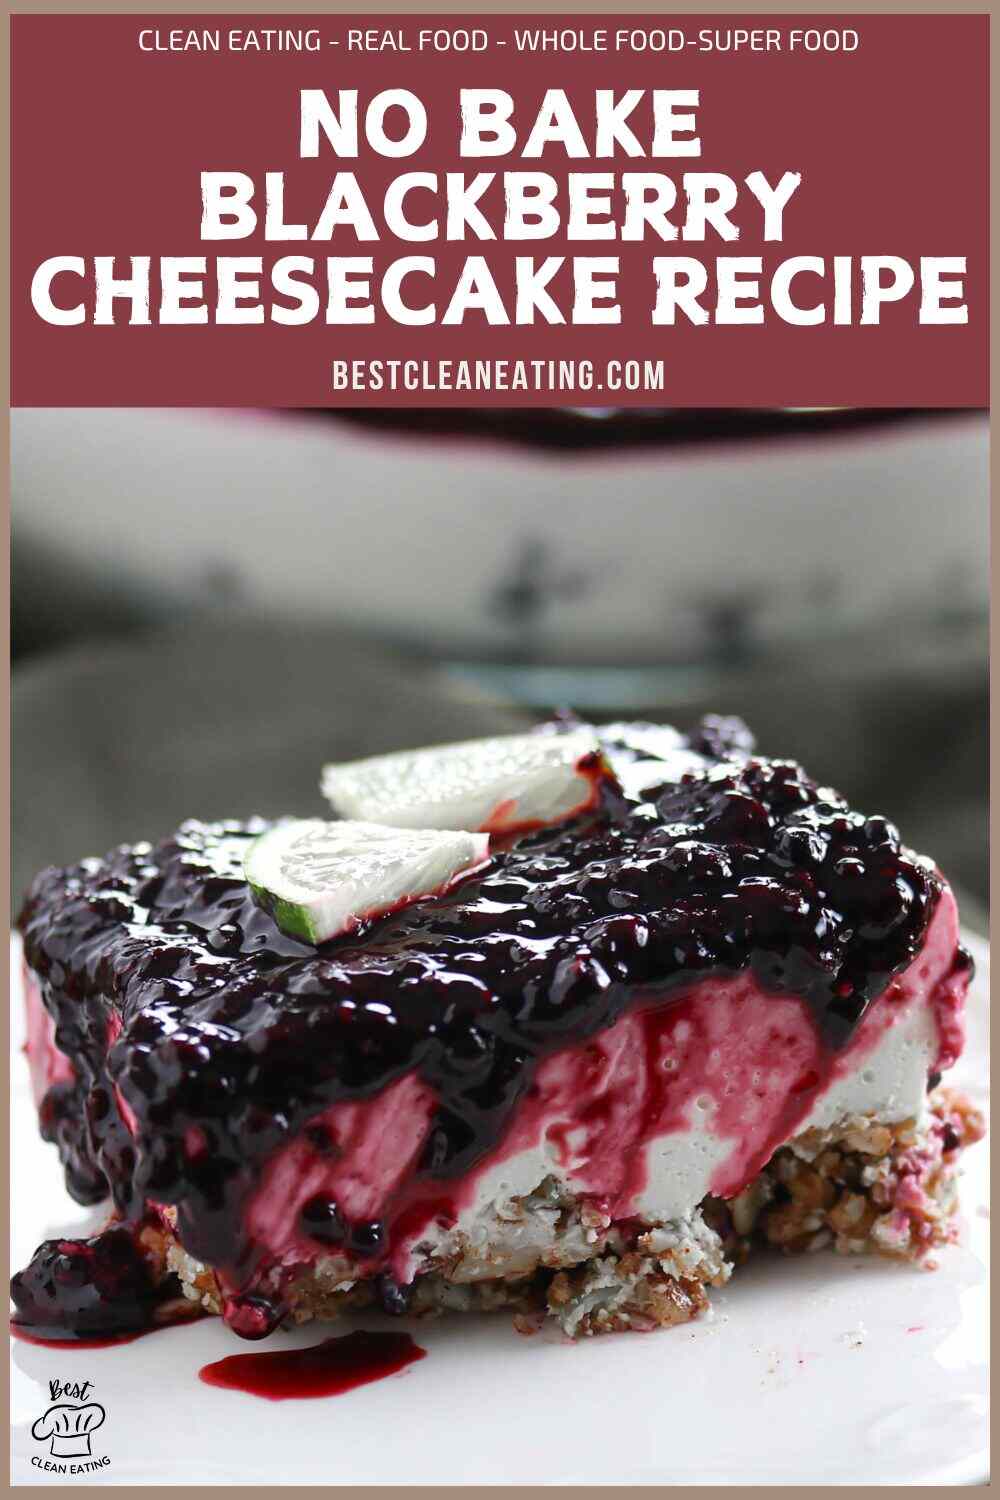
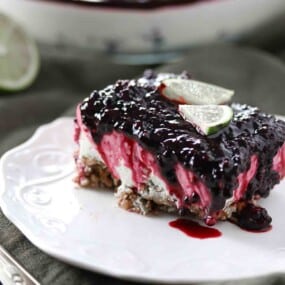
This no-bake blackberry cheesecake slices cleanly, holds its shape on the plate, and delivers a bright lime filling against a deep purple blackberry backdrop without a single minute in the oven. There is no graham cracker crust, no melted butter, no springform pan, and no hand mixer involved because the food processor and the fridge do all the work.
A friend called to stop by unannounced one Saturday afternoon, and I had nothing ready to offer for dessert. I quickly pressed the crust into the tray, blended the filling, scattered the blackberries, and had everything in the fridge. By the time she came in, two hours later, there was a fully set, glossy cheesecake served that she genuinely thought I had made the day before.

The Cheesecake Filling Sets Without Baking
The cheesecake filling uses gelatin dissolved in boiling water to set the cream cheese mixture firm without any oven time, a springform pan, or beating to stiff peaks with a mixer. Blending the cream cheese and sour cream together in a food processor at room temperature gives you a silky smooth cheesecake filling with no lumps in under a minute. Gluten-free mushroom soup, zucchini casserole with marinara, and crockpot taco soup are all worth making on the same day as this cheesecake, so everything is ready to pull from the fridge or pot at once.
The Blackberry Sauce Makes It
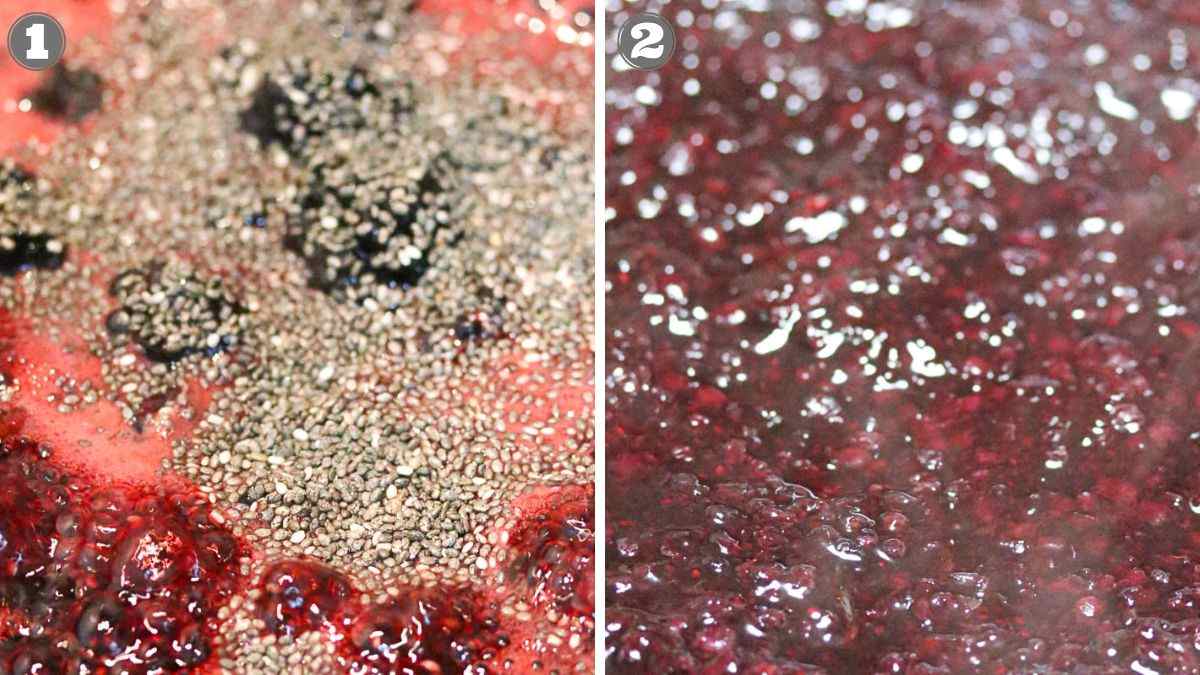
The blackberry sauce, simmered with lemon juice, sweetener, and chia seeds, is what takes this from a good cheesecake to something genuinely impressive on the table. It thickens naturally as it cooks and continues to set as it cools, giving you a glossy, spoonable topping that holds its shape perfectly once poured over the chilled cheesecake. No-sugar-apricot preserves, blueberries in dark chocolate, and white chocolate-covered strawberries are also recipes that use a real fruit sauce or topping made from scratch rather than anything store-bought.
How To Make No Bake Blackberry Cheesecake Dessert
A few hours of chilling time are all it takes to have a full tray of set, sliceable blackberry cheesecake ready to serve. Make this at home and have a good filling meal.
Kitchen Gadgets:
- Food Processor: Processes the crust ingredients into a fine crumb and blends the cheesecake filling until completely smooth with no lumps.
- 20x30cm (8×12 inch) Baking Tray: Holds the pressed crust and cheesecake filling while it sets in the fridge, and makes slicing into portions straightforward.
- Small Bowl: Combines the gelatin and boiling water so every granule dissolves fully before being added to the cheesecake filling.
- Small Saucepan: Simmers the blackberry sauce ingredients down until thickened and glossy before cooling and pouring over the set cheesecake.
- Spatula: Spreads the cheesecake filling evenly over the blackberries and crust before chilling.
Ingredients:
For the Crust
- Pecans: Processed with the almonds and pumpkin seeds to form the first layer of the crumb base that gets pressed firmly into the tray.
- Almonds: Combined with the pecans and pumpkin seeds in the food processor to build the texture and flavor of the nut crust.
- Pumpkin Seeds: Added to the nut mixture to give the crust a firmer press and extra depth once the coconut oil binds everything together.
- Refined Coconut Oil: Binds the processed nut and seed crumb so the crust holds its shape when pressed into the tray and sliced.
- Cinnamon: Mixed into the crust ingredients to add a warm, spicy note that balances the tartness of the lime-and-blackberry filling above it.
- Sweetener: Stirred into the crust mixture to add a subtle sweetness to the base without overpowering the cheesecake filling.
For the Cheesecake Filling
- Gelatin: Dissolved in boiling water and blended into the filling to set the cheesecake firm without any baking required.
- Boiling Water: Used to fully dissolve the gelatin before adding it to the cream cheese mixture.
- Sour Cream: Blended with the cream cheese in the food processor to slightly lighten the filling and add a subtle tang that pairs well with the lime juice.
- Cream Cheese: Blended with sour cream to create the rich, dense base that gives the cheesecake filling its signature smooth texture.
- Lime Juice: Added to the filling to cut through the richness of the cream cheese and give the cheesecake its bright citrus flavor throughout.
- Lime Zest: Stirred into the filling alongside the lime juice to layer in an extra citrus note throughout every slice.
- Heavy Cream: Processed into the filling for a full minute to add volume and a lighter texture to the finished cheesecake.
- Sweetener: Blended into the filling to sweeten the cheesecake evenly without adding any granular texture to the finished set slice.
- Blackberries: Scatter evenly over the pressed crust before pouring the filling on top, so every slice contains fresh blackberries throughout.
For the Blackberry Sauce
- Water: Combined with the blackberries in the saucepan to create the liquid base that reduces down into the finished sauce.
- Blackberries: Simmered with the lemon juice, water, and sweetener until broken down and reduced into a thick, glossy topping.
- Lemon Juice: Added to the saucepan to brighten the sauce and balance the natural sweetness of the blackberries as they reduce.
- Chia Seeds: Stirred into the sauce to absorb liquid as it cooks, thickening it naturally into a glossy, spoonable topping.
- Sweetener: Stirred into the sauce before simmering to sweeten the topping evenly as the water evaporates and the sauce reduces.
*Exact measurements are listed in the recipe card below.
FULL INSTRUCTIONS WITH STEPS FOR NO BAKE DESSERT CHEESECAKE RECIPE
First Step: Start With Prep
Measure all crust, filling, and sauce ingredients and have your food processor, baking tray, small bowl, and saucepan within reach before you begin. Pull the cream cheese and sour cream out of the fridge at least 30 minutes before blending so they are at room temperature and blend into a completely smooth, lump-free cheesecake filling without any effort. Having everything ready before you start makes moving between the three components smooth and efficient.

Second Step: Make the Crust and Dissolve the Gelatin
Place all the crust ingredients into the food processor and blitz for 30 seconds until the mixture resembles a coarse crumble that holds together when pressed. Transfer to the baking tray, then press down firmly and evenly across the entire base with the palm of your hand or the back of a spoon. In a small bowl, combine the gelatin and boiling water, stirring continuously until all granules have completely dissolved, with no lumps remaining. Set aside to cool for 3 to 4 minutes before adding it to the filling.

Third Step: Blend the Filling and Assemble
Add the sour cream and cream cheese to the food processor and blend for 20 seconds until silky smooth, then add the lime juice, lime zest, and sweetener and process for another 10 seconds. Pour in the heavy cream and blend for a full minute, then add the cooled dissolved gelatin and blend for a final 10 seconds until the filling is fully combined and creamy. Scatter the blackberries evenly over the pressed crust, pour the cheesecake filling over the top, smooth it to the edges, and refrigerate for 2 hours until completely set and firm.

Fourth Step: Make the Sauce and Serve
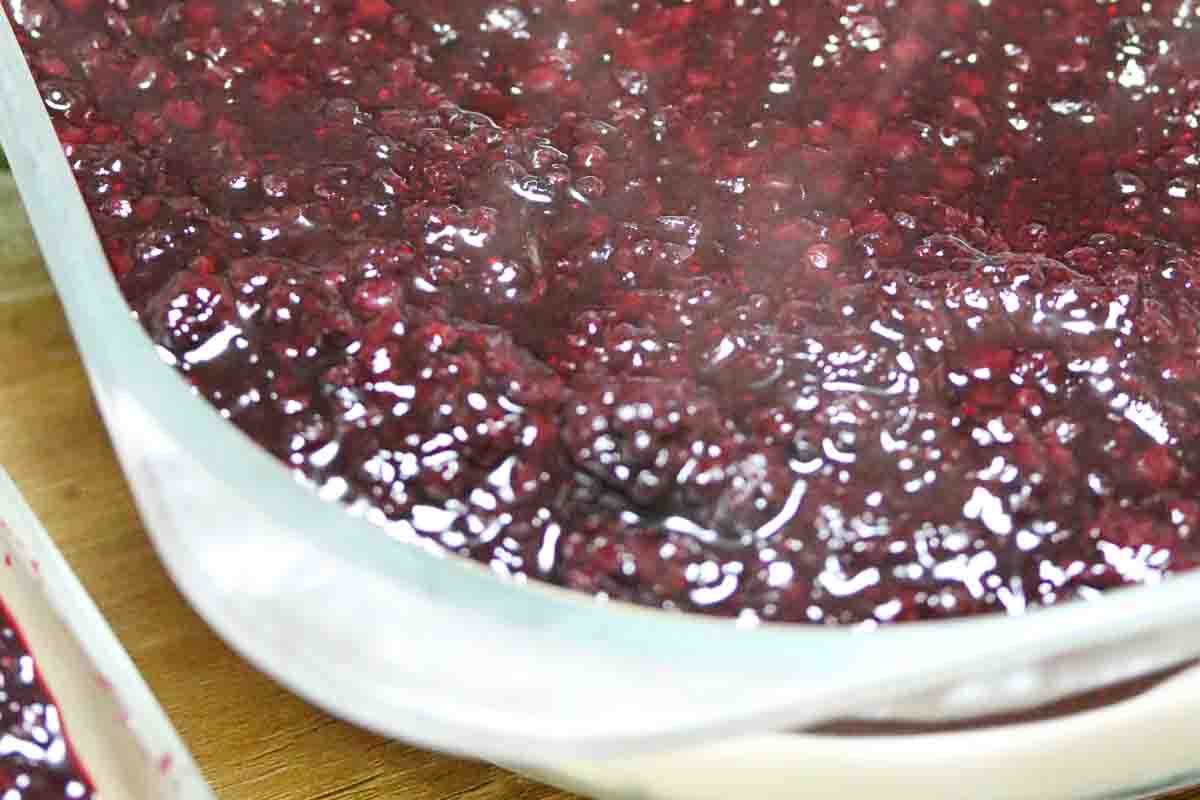
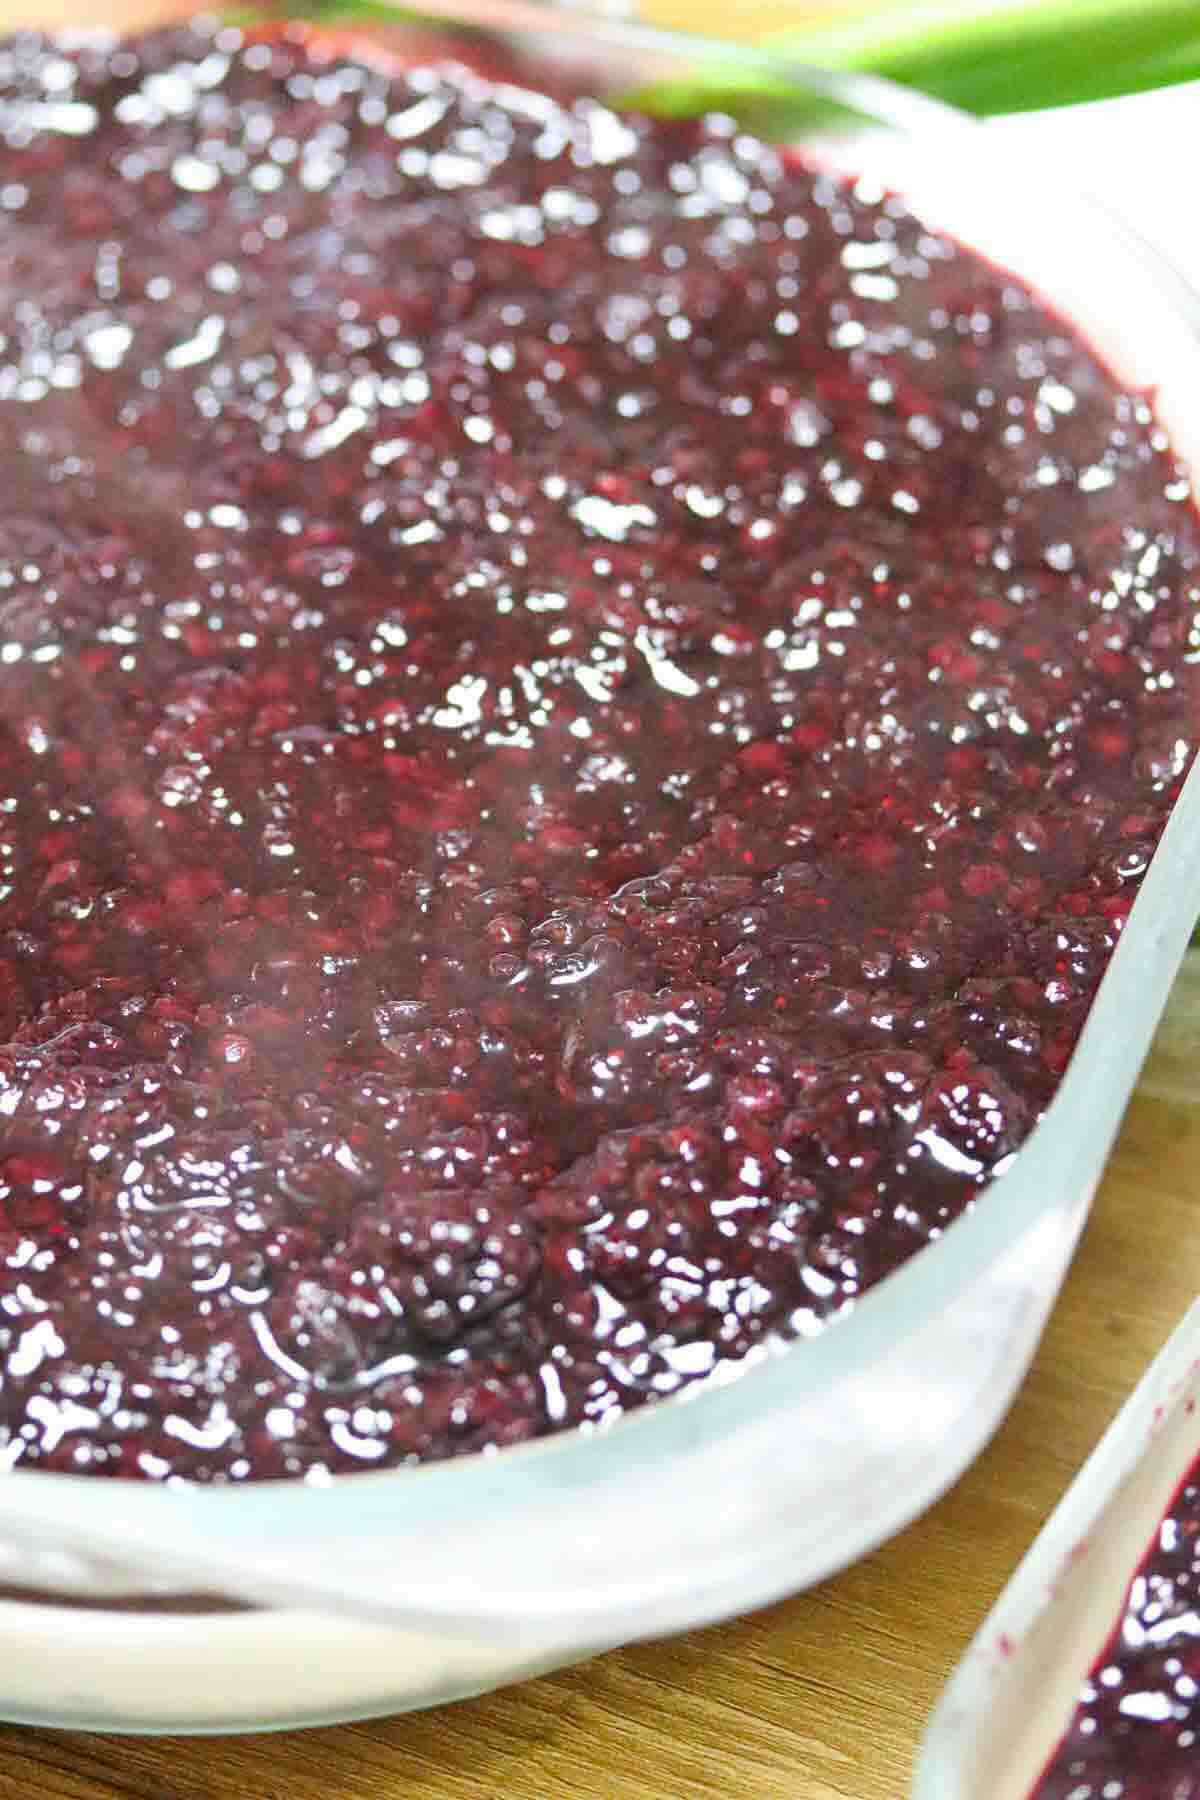
Add all the blackberry sauce ingredients to a saucepan over medium heat and simmer, stirring occasionally, until roughly half the water has evaporated and the sauce has thickened to a glossy, spoonable consistency. Remove from the heat and leave to cool completely before spooning the sauce evenly over the fully set cheesecake. Slice and serve straight from the tray.
Zuzana’s Kitchen Notes:
I tried pouring the blackberry sauce over the cheesecake before the 2 hours were up, and the weight of the sauce pressed into the still-soft filling, leaving an uneven surface that did not look right once set. Waiting the full 2 hours before adding the sauce keeps the surface firm and gives you a clean, glossy topping that sits perfectly on top without sinking in. For another dessert recipe, my gluten-free bundt cake is the next bake to try when you want something from the oven to serve alongside this cheesecake.
- Use refined coconut oil rather than unrefined in the crust so the coconut flavor does not compete with the lime and blackberry in the filling.
- Run a sharp knife under warm water before every slice for clean cuts that do not drag through the blackberry sauce.
- If the sauce thickens more than expected as it cools, stir in a teaspoon of water before spooning it over the cheesecake to bring it back to the right consistency.
- Press the crust firmly into the corners of the tray, not just the center, so every slice from edge to edge holds together cleanly.
FREQUENTLY ASKED QUESTIONS
What to Serve With No-Bake Cheesecake?
This cheesecake pairs beautifully with a glass of agua de Jamaica iced tea for a summer spread, where the drink’s deep ruby color complements the purple-blackberry sauce on the plate. It also works well served alongside a glass of lavender mocktail when you want a floral, lightly sweet drink that does not compete with the cheesecake’s fruit flavor. Add a drizzle of sugar-free lavender syrup, stirred into sparkling water, for a simple, fragrant cold drink that pairs with a rich berry dessert.
How Do I Store No-Bake Blackberry Cheesecake?
Store covered in the fridge for up to 4 days. Keep the blackberry sauce on top as it acts as a natural seal over the cheesecake filling and helps maintain the texture between servings. Cut only what you need and leave the rest covered in the tray for the cleanest slices throughout the week.
Freezing is not recommended as gelatin-set cheesecakes lose their smooth texture after thawing, and the blackberry sauce becomes watery. Refrigerator storage for up to 4 days gives you the best texture and the cleanest flavor from every serving.
More Clean Eating Recipes
I always keep a batch of this cheesecake in the fridge on the same weeks I make zucchini casserole with marinara, because having a rich, fruity dessert ready after a warm, cheesy vegetable bake is exactly the kind of balance that makes a full meal feel complete. Stuffed chicken roll-ups are another hearty make-ahead dinner worth preparing on the same day as this cheesecake, since both go into their respective pans and come back to you ready without any evening effort.
For a lighter dinner before serving this cheesecake, my oven-baked BBQ wings come out crispy and saucy in under an hour and pair naturally with a cold, set dessert to finish the meal.
Pin For Later
Need Support or have Questions? Join our Free Facebook Group.
Follow us on Pinterest, Facebook, Instagram, TikTok, Flipboard, or YouTube.
For weekly New Recipes and a FREE E-Book get into our NEWSLETTER.
Full Recipe With a Printable Version
I would be grateful if you could give us a 5-star rating.
No Bake Blackberry Cheesecake Recipe
Equipment
- 1 Baking Tray 20x30cm (8×12 inch)
- 1 Bowl
- 1 Saucepan
- 1 Spatula
Ingredients
For the Crust:
For the Cheesecake Filling:
- ¾ Cup Boiling Water 180ml
- 4 Envelopes Knox Gelatin
- ¾ Cup Sour Cream 180ml
- 8 Ounces Cream Cheese
- 5 Tablespoons Lemon Juice 75ml
- 1 Piece Lime Zest
- ¾ Cup Heavy Cream 180ml
- 2 Tablespoons Sweetener
- 2 Cups Blackberries fresh or frozen
For the Blackberry Sauce:
- 2 Cups Water
- 4 Cups Blackberries fresh or frozen
- 3 Tablespoons Lemon Juice 45ml
- 2 Tablespoons Chia Seeds
- 2 Tablespoons Sweetener
Instructions
- Measure all ingredients and bring the cream cheese and sour cream to room temperature.
- Blend the crust ingredients, press into the tray, then dissolve the gelatin in boiling water and let it cool briefly.
- Blend the filling ingredients until smooth, add the gelatin, pour over blackberries and crust, then chill for 2 hours.
- Simmer the sauce until thickened, cool completely, spoon over the cheesecake, then slice and serve.
Notes
- Use refined coconut oil rather than unrefined in the crust so the coconut flavor does not compete with the lime and blackberry in the filling.
- Run a sharp knife under warm water before every slice for clean cuts that do not drag through the blackberry sauce.
- If the sauce thickens more than expected as it cools, stir in a teaspoon of water before spooning it over the cheesecake to bring it back to the right consistency.
- Press the crust firmly into the corners of the tray, not just the center, so every slice from edge to edge holds together cleanly.
Nutrition
Disclaimer
Please note that nutrient values are estimates only. Variations can occur due to product availability and manner of food preparation. Nutrition may vary based on methods of origin, preparation, freshness of ingredients, and other factors.
other dessert ideas
Other dessert ideas can add variety to your menu with different textures and flavors. Explore light, creamy, fruity, baked, chilled, or no-bake options for simple sweet treats that suit any occasion.