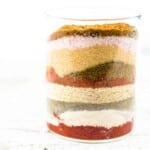
Ever wondered what to do with leftover watermelon rind? This homemade recipe for pickled watermelon rinds turns scraps into a tangy, sweet, and crunchy treat that’s hard to resist. With just a few simple ingredients, you can create a pickled watermelon rind recipe and enjoy it as a refreshing snack or a unique side dish. It’s a clever way to use every part of the watermelon and cut back on waste.

Last summer, after slicing up a giant watermelon for a picnic with my kids, I stood there holding the leftover rinds, wondering if I could do something more than just toss them in the compost. I remembered my mother once mentioning how her mom would pickle them during the hot months to avoid waste. So, I gave it a try, and the first crunchy bite took me by surprise.

Upcycling Watermelon Rinds
Instead of tossing the rinds, you can upcycle them into something delicious. It’s a smart way to reduce food waste and make the most out of your summer fruit. The pickled rinds also add crunch to salads, such as cucumber and red onion, wraps, and cheese boards. You’ll feel good knowing you’re using every part of the fruit.
Fun Leftover Idea
The pickled rinds are unexpected, a little old-fashioned, and totally unique. Kids love the sweet-sour flavor and the surprise that it came from a watermelon. It’s a creative way to make leftovers exciting again.
Perfect During Summer
Pickled watermelon rinds are especially refreshing in the summertime. They pair well with grilled meats, burgers, or just eaten straight from the jar. You can make a small batch after a picnic or barbecue. It’s a seasonal treat that feels homemade and special.

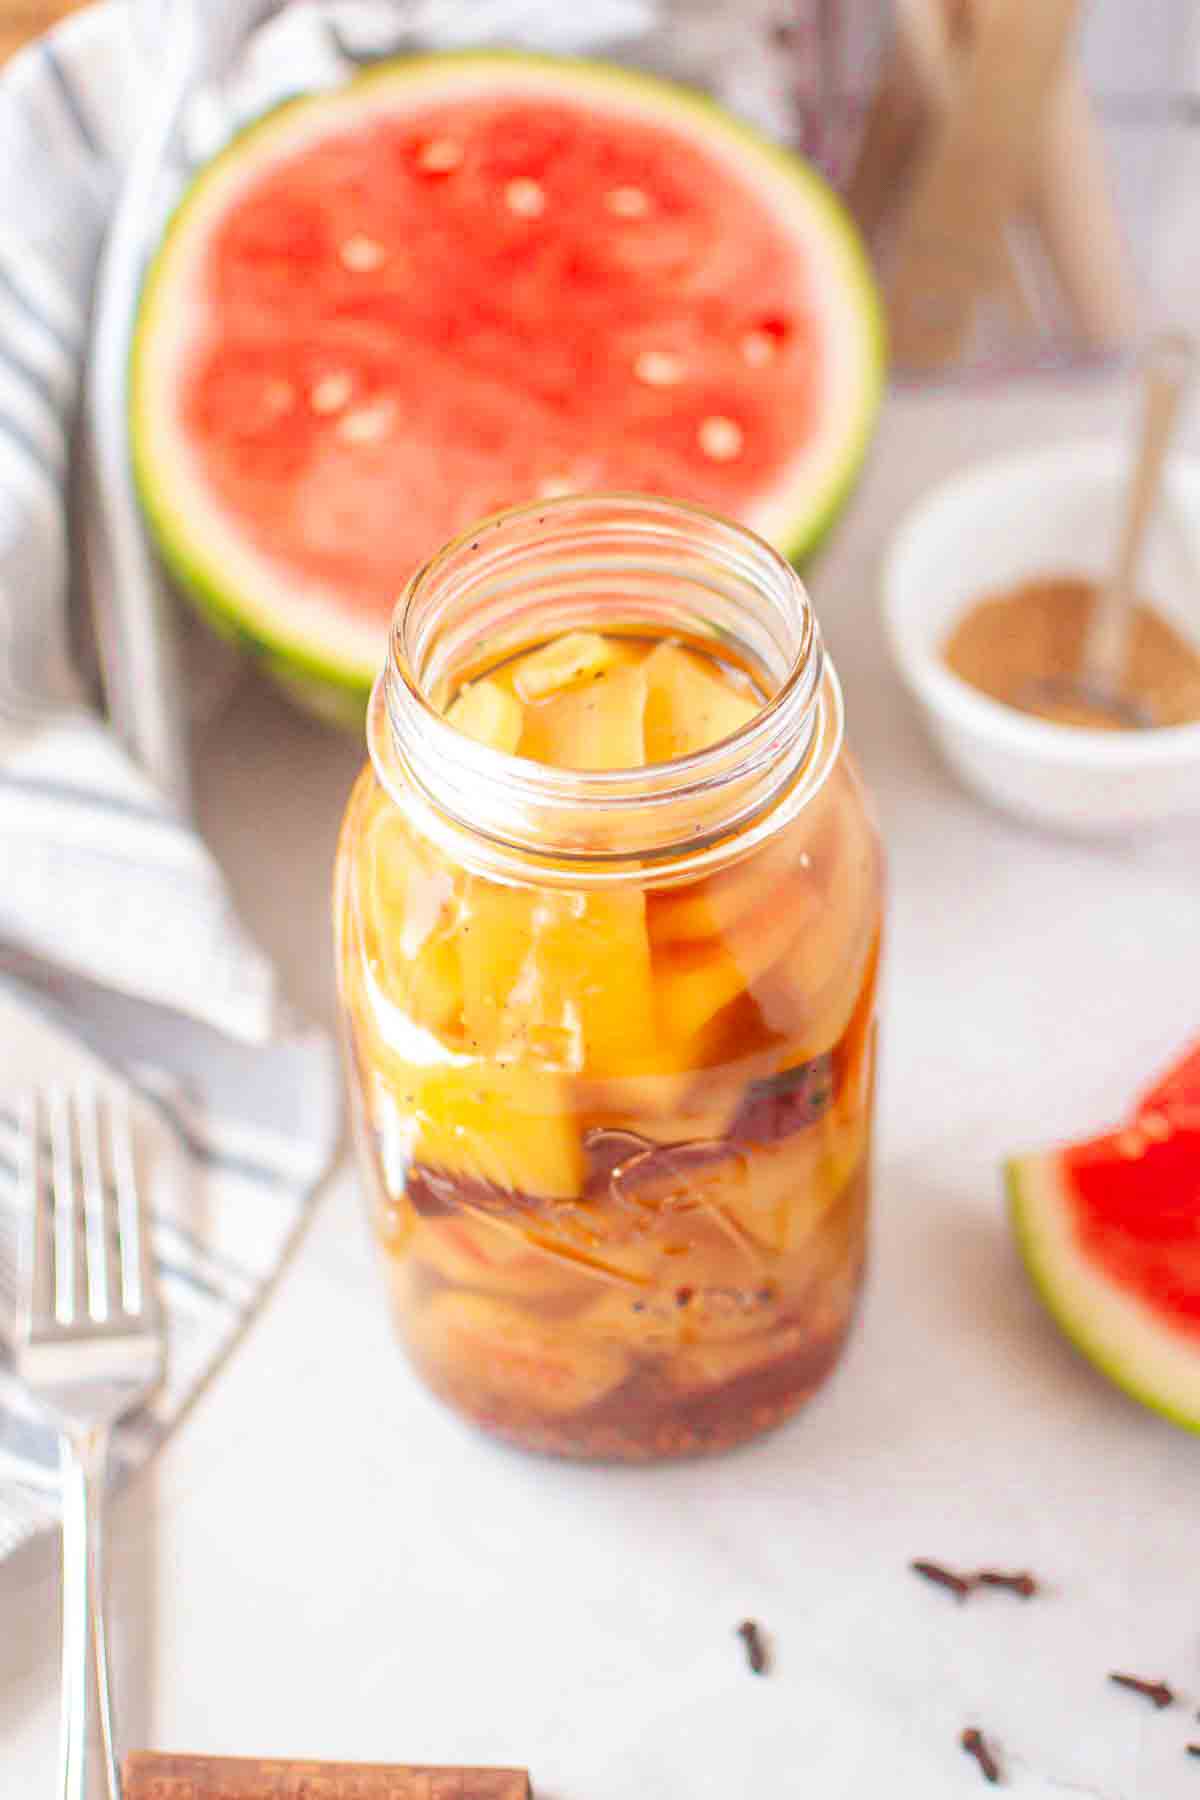
How To Make Pickled Watermelon Rinds Recipe
Pickled watermelon rinds are a sweet and tangy way to use up every part of the fruit. This old-fashioned favorite adds a crunchy, flavorful twist to snacks, salads, or charcuterie boards.
Kitchen Gadgets:
- Sharp Knife: Key for peeling and cutting the watermelon rind into perfectly sized pieces.
- Chopping Board: A durable surface that makes prepping rind and spices safe and efficient.
- Saucepan: Ideal for heating your brine and drawing out rich, spiced flavor during the simmer.
Ingredients:
- Watermelon Rind: The white part of the rind gets transformed into a crisp, tangy treat.
- White Vinegar: Provides the signature sour pickling flavor and helps preserve the rinds.
- Water: Dilutes the vinegar for a balanced brine.
- Sweetener/Sugar: Adds sweetness to offset the vinegar and spices.
- Kosher Salt: Draws out moisture and enhances the overall flavor.
- Cinnamon Stick: Infuses warm, cozy spice into the brine.
- Cloves: Add a deep, aromatic hint of sweetness and spice.
- Mustard Seeds: Offer a gentle heat and slight crunch in every bite.
- Whole Black Peppercorns: Add sharp, peppery notes for a subtle kick.
- Chili Flakes (optional): For those who like a little heat in their sweet pickles.
- Ginger: Fresh and zesty, it brightens the flavor with a gentle spice.
*Exact measurements are listed in the recipe card below.
FULL INSTRUCTIONS WITH STEPS FOR WATERMELON RIND PICKLES
First Step: Have Pickle Ingredients Prepped
Slice off the tough green skin from the watermelon rind to expose the white part underneath. Cut the rind into even 1-inch cubes to help them pickle evenly. Set the cubes aside while you prep your blanching pot.

Second Step: Soften the Rind
Bring a pot of water to a boil and add the cubed rinds. Let them blanch for about 5 minutes to soften the texture and mellow any bitterness. Drain the water and set the rinds aside while you prepare the pickling liquid.

Third Step: Build the Brine
To the same pot, add fresh water, white vinegar, your sugar substitute, and all the spices, salt, cinnamon stick, whole cloves, mustard seeds, peppercorns, chili flakes (if using), and ginger. Stir well and bring to a boil. This mixture infuses the rind with bold, tangy, and slightly spicy notes.

Fourth Step: Simmer and Chill
Add the blanched rind pieces into the boiling brine, then lower the heat. Simmer everything together for 10 to 15 minutes until the rind starts to look translucent. Transfer to a clean jar with all the liquid, cool to room temperature, seal, and refrigerate for a day to let the flavors develop.

TRICKS AND TIPS:
- Peel Carefully: Use a vegetable peeler to remove the green outer skin of the rind before pickling. Leaving it on can make the pickles tough and hard to chew.
- Cut Evenly: Slice the rind into even-sized pieces so they pickle at the same rate. This helps ensure consistent texture and flavor in every bite.
- Let It Sit: After pickling, let the jar sit in the fridge for at least 24 hours. The flavor deepens as it rests, making the pickles more tangy and delicious.
- Add Spices You Love: Feel free to customize with spices like cinnamon sticks, cloves, or chili flakes. A slight adjustment can make the pickles sweet, spicy, or a combination of both.
FREQUENTLY ASKED QUESTIONS
What to Serve With Pickled Watermelon Rinds?
Pickled watermelon rinds go great with dishes like sweet chili salmon, shredded chicken, chicken stir-fry, or pork scotch fillet. They also pair nicely with cream cheese sausage balls, feta cheese egg or zucchini casserole for a tangy crunch. Try adding them to salads for a surprising twist.
Once pickled, store the watermelon rinds in a clean, airtight jar in the refrigerator. They can last up to 2 weeks when properly sealed and kept cold. Always use a clean spoon when taking some out to keep them fresh longer.

Can I Freeze Pickles?
Freezing pickled watermelon rinds is not recommended, as it can cause them to become mushy when thawed. The texture and flavor are best when stored in the fridge. Enjoy them fresh and crisp straight from the jar.
More Clean-Eating Recipes
Looking for more clean-eating recipes to enjoy at home? Try making rose petal tea, it’s floral, calming, and a beautiful way to wind down after a busy day. If you like tangy flavors, you’ll love the colorful sweet and sour pickled radish, it’s crunchy, vibrant, and full of natural goodness.
For something hearty, go for gluten-free dumplings, perfect for a cozy lunch or light dinner without any flour worries. These recipes are simple to make, nourishing, and a great way to enjoy whole foods.
Pin For Later

Need Support or have Questions? Join our Free Facebook Group.
Follow us on Pinterest, Facebook, Instagram, TikTok, Flipboard, or YouTube.
For weekly New Recipes and a FREE E-Book get into our NEWSLETTER.
Full Recipe With a Printable Version
I would be grateful if you could give us a 5-star rating.

Homemade Recipe for Pickled Watermelon Rinds
Equipment
- 1 Saucepan
Ingredients
- 4 Cups Watermelon Rinds peeled, diced into bite-sized pieces
- 1 Cup White Vinegar
- 1½ Cups Water
- ¾ Cup Sweetener or Sugar
- 1 Tablespoon Kosher Salt
- 1 Piece Cinnamon Stick
- 3 Pieces Cloves
- 1 teaspoon Mustard Seeds
- 1 teaspoon Whole Black Peppercorns
- ½ teaspoon Chili Flakes optional
- 1 inch Ginger knob, fresh, sliced
Instructions
- Trim off the green skin from the watermelon rind to expose the white portion, then cut it into even 1-inch cubes. Set aside while you prepare to blanch.
- Bring a pot of water to a boil and blanch the rind cubes for about 5 minutes until slightly softened. Drain and set aside.
- In the same pot, combine fresh water, white vinegar, sugar substitute, salt, cinnamon stick, cloves, mustard seeds, peppercorns, ginger, and chili flakes if using. Stir and bring to a boil.
- Add the blanched rinds to the boiling brine, reduce heat, and simmer 10–15 minutes until translucent. Transfer everything to a clean jar, cool, seal, and refrigerate for at least 24 hours before serving.
Notes
- Peel Carefully: Use a vegetable peeler to remove the green outer skin of the rind before pickling. Leaving it on can make the pickles tough and hard to chew.
- Cut Evenly: Slice the rind into even-sized pieces so they pickle at the same rate. This helps ensure consistent texture and flavor in every bite.
- Let It Sit: After pickling, let the jar sit in the fridge for at least 24 hours. The flavor deepens as it rests, making the pickles more tangy and delicious.
- Add Spices You Love: Feel free to customize with spices like cinnamon sticks, cloves, or chili flakes. A slight adjustment can make the pickles sweet, spicy, or a combination of both.
Nutrition
Disclaimer
Please note that nutrient values are estimates only. Variations can occur due to product availability and manner of food preparation. Nutrition may vary based on methods of origin, preparation, freshness of ingredients, and other factors.
more pantry Items
Stock up on more pantry items to keep your kitchen ready for quick and delicious meals. From grains and canned goods to spices and condiments, these essentials make cooking easier every day.